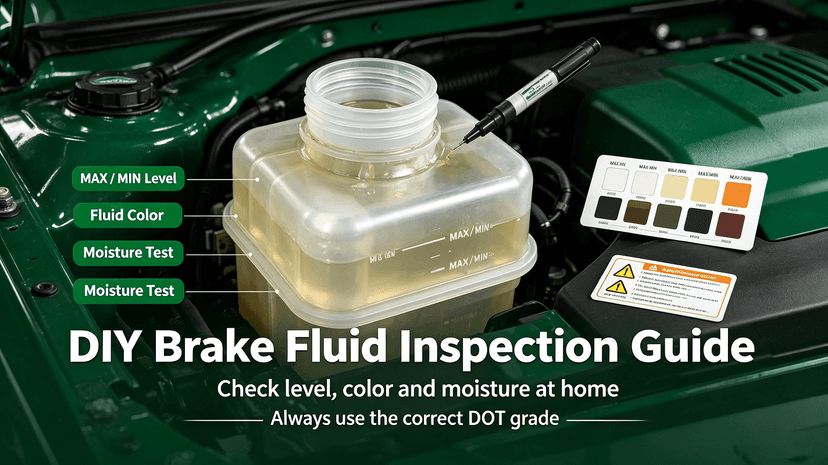
How To Inspect Brake Fluid Safely At Home
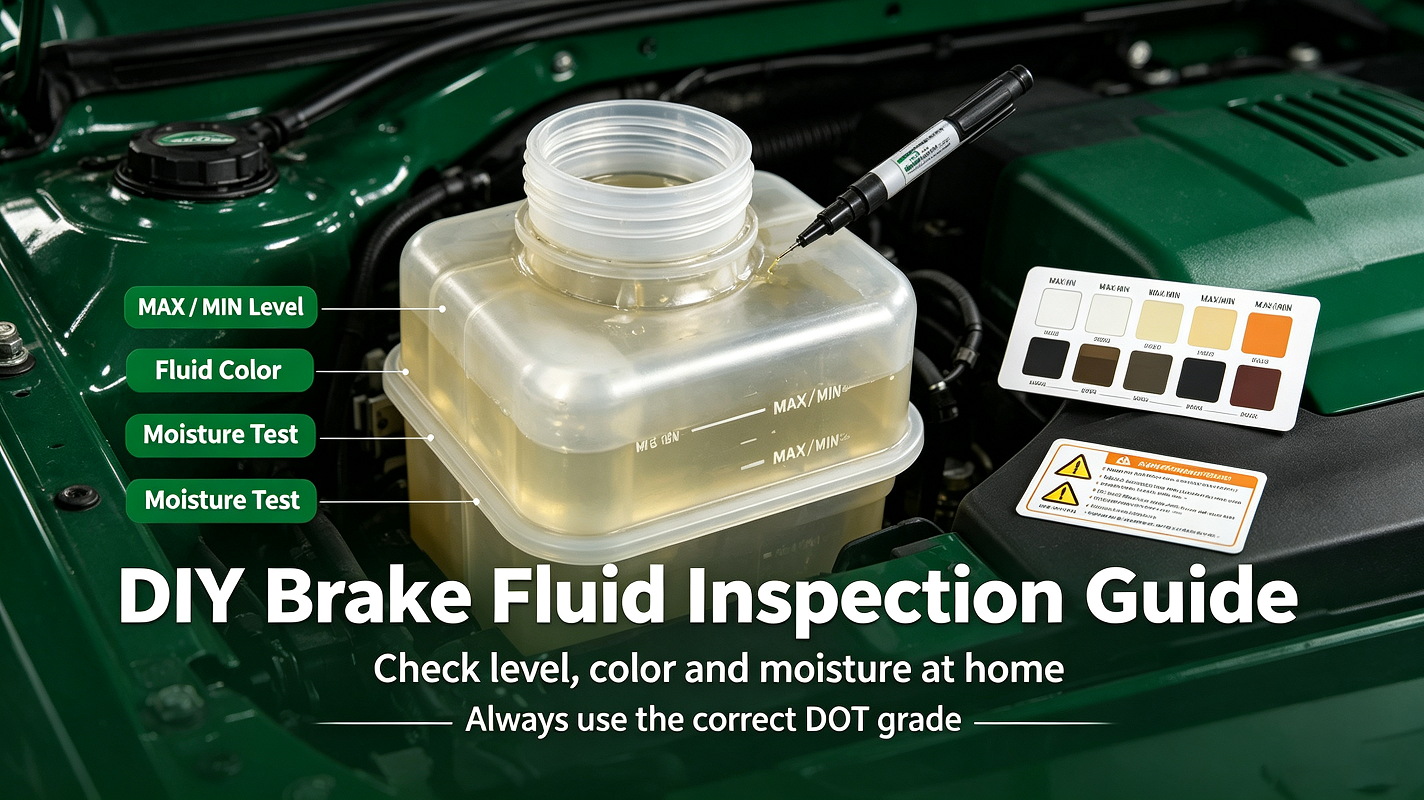
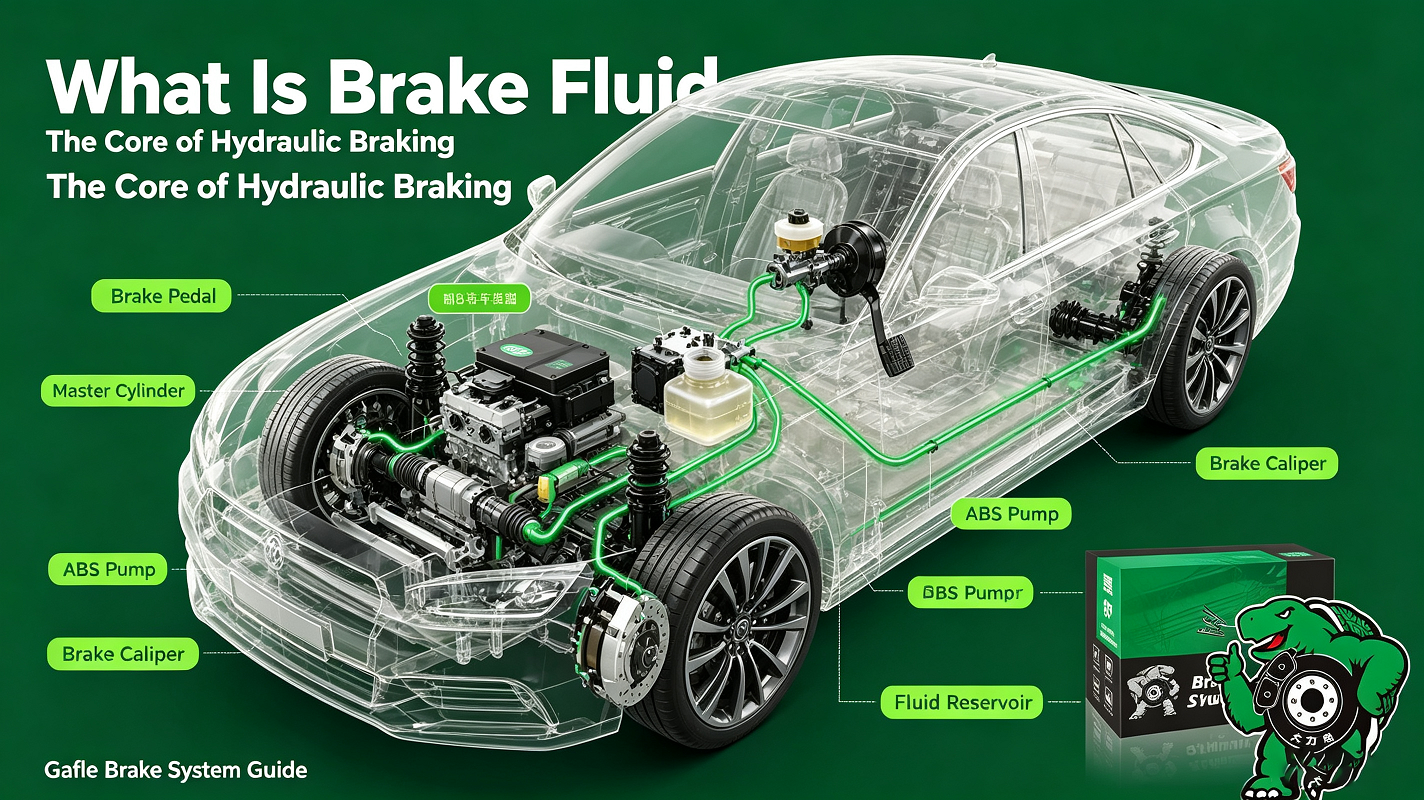
You don’t need professional garage equipment to complete a basic brake fluid inspection. Every car owner can check three key indicators of brake fluid condition directly through the transparent brake fluid reservoir under the hood, catching hidden braking hazards before dangerous symptoms like soft pedals appear. This step-by-step DIY guide covers liquid level, fluid color and moisture judgment, matching the full hydraulic brake system structure shown in vehicle maintenance diagrams.
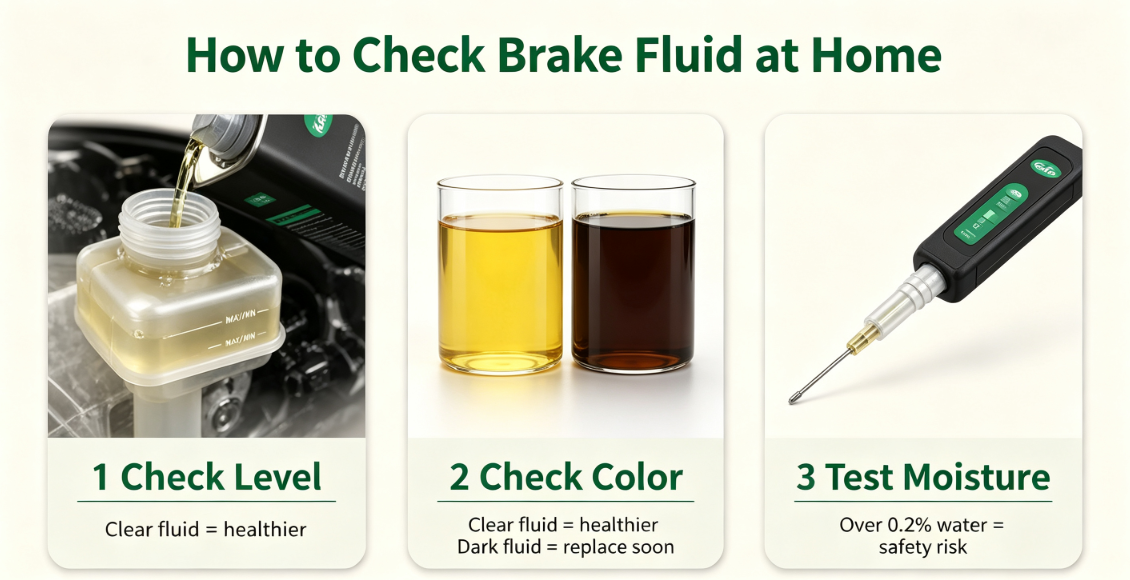
1. Step 1: Check Brake Fluid Liquid Level In The Reservoir
Locate the transparent plastic brake fluid reservoir connected to your brake master cylinder, marked with “MAX” and “MIN” scale lines:
- Normal state: Liquid level sits between MIN and MAX marks
- Low level below MIN: Check for brake pad wear or hidden brake fluid leaks on pipelines/calipers
- Never overfill fluid above MAX: It will overflow and corrode surrounding plastic engine parts during brake heat expansion
Only add brake fluid with the identical DOT grade as your vehicle’s factory specification; mixing different brake fluid types causes additive chemical failure.
2. Step 2: Judge Fluid Age & Degradation By Color
Clear, pale golden/yellow brake fluid = brand-new, fully functional fluid with intact anti-corrosion and anti-boiling additives.
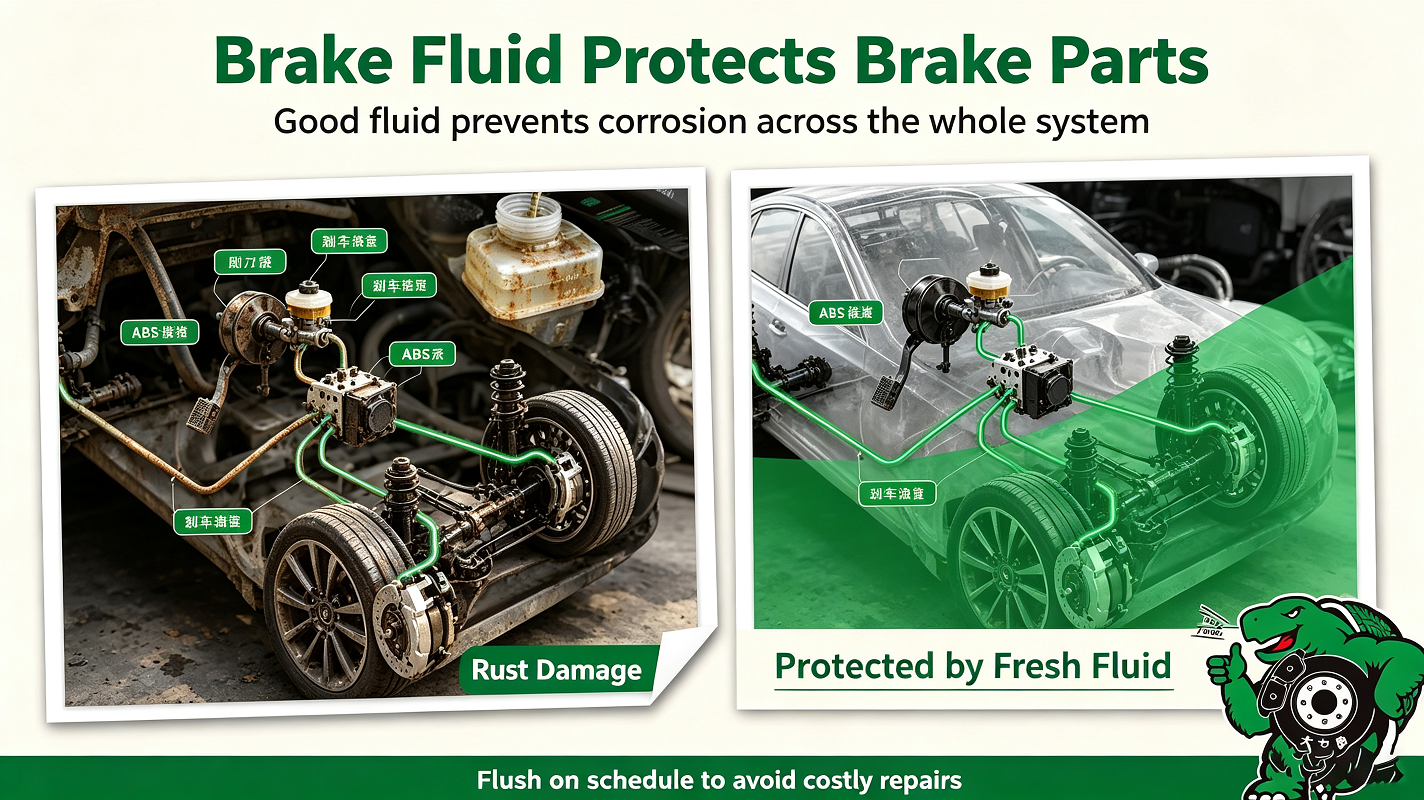
Dark amber, brown or black murky fluid = heavily contaminated with moisture, metal rust particles and degraded additives. This fluid has lost its core hydraulic performance and requires immediate full flushing.
Moisture absorbs metal oxide debris from brake lines, darkening fluid color gradually over time, even if you rarely drive the car.
3. Step 3: Test Hidden Moisture Content (2 Easy Methods)
Visual Observation
If you see tiny suspended water droplets or cloudy separation inside the reservoir, water content has exceeded the safe 0.2% threshold.
Portable Brake Fluid Tester (Affordable Home Tool)
Insert the tester probe into the reservoir fluid; the indicator light will show safe / warning / dangerous moisture levels. High moisture readings mean vapor lock risk during heavy braking.
4. Key Inspection Reminders Linked To The Full Brake System
When checking brake fluid, take 1 minute to scan connected components:
- Check for fluid seepage around reservoir caps, master cylinder seals and ABS pump joints
- Confirm no wet fluid stains on brake steel pipelines under the chassis
- After inspection, tighten the reservoir cap fully to reduce new moisture absorption from air
Loose reservoir caps speed up hygroscopic water intake, shortening safe brake fluid service life drastically.
5. When DIY Inspection Signals A Full Brake Fluid Flush
Schedule a complete brake fluid replacement service right away if any of these appear:
- Fluid turns dark brown/black
- Tester shows moisture over 0.2%
- Liquid level drops frequently with no obvious external leaks
- Brake pedal feels soft or sinks during emergency stops
Final Takeaway
Simple regular DIY brake fluid inspection helps you monitor the health of your whole hydraulic brake system, catching moisture contamination and fluid degradation early. Matching inspection results with the complete brake system layout, you can clearly understand how poor fluid quality damages master cylinders, ABS pumps and calipers. Early inspection and timely fluid replacement is the most cost-effective way to guarantee stable braking performance.
Welcome to contact GAFLE for more information & cooperation!
peter
ZHEJIANG GAFLE AUTO CHEMICL CO.,LTD
Tel:86-579-8222 1665
Fax:86-579-8246 4690
Cel/Wechart:86-13335993986
E-mail:peter@gafle.net
Web:www.gafle.net
peter
ZHEJIANG GAFLE AUTO CHEMICL CO.,LTD
Tel:86-579-8222 1665
Fax:86-579-8246 4690
Cel/Wechart:86-13335993986
E-mail:peter@gafle.net
Web:www.gafle.net