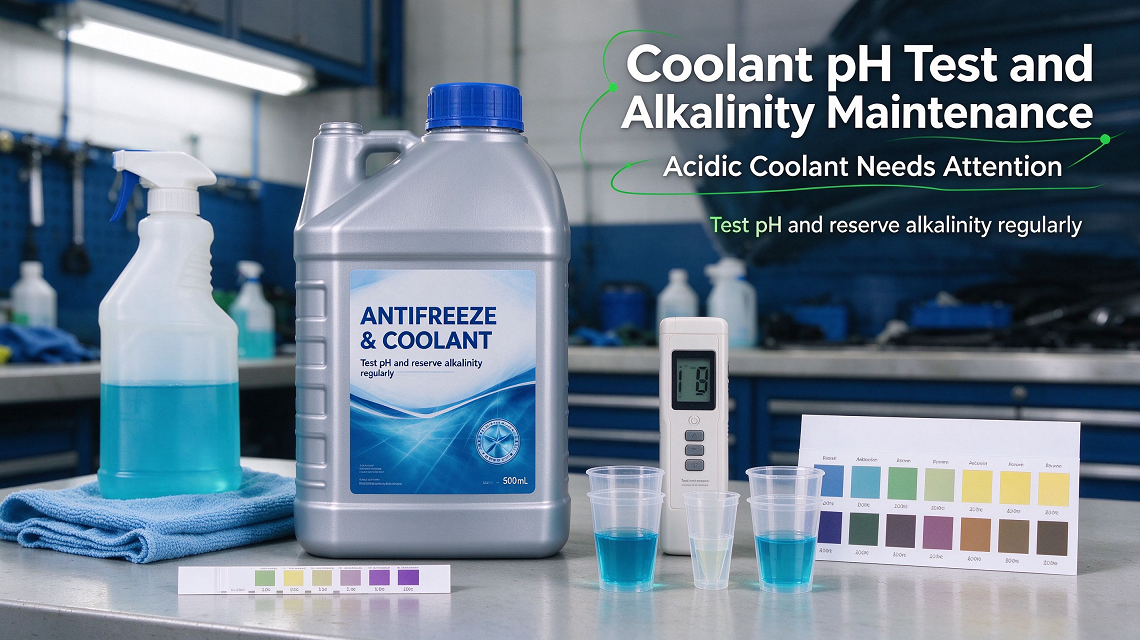
Why Coolant Chemistry Drifts Toward Acidity
Most equipment owners and field technicians routinely check freeze points with a basic refractometer or hydrometer, assuming that if fluid protects down to -30°F, it is doing its job. That assumption is often where expensive cooling system damage begins. Glycol handles thermal transfer and freeze depression, but the additive package—specifically its corrosion inhibitors and buffers—is what prevents cast iron, aluminum, and copper from corroding. Over time, heat cycles, atmospheric exposure, and aeration degrade glycol into organic acids like glycolic and formic acids. Knowing how to test coolant pH at home or in a local maintenance bay gives you a direct look at whether your corrosion inhibitors are still standing between those acids and your engine components.
Equipment Options: Test Strips vs. Digital Meters
Testing coolant outside a certified oil analysis laboratory does not require heavy capital investment, but it does require selecting tools designed for glycol-based fluids.
1. Wide-Range Diagnostic Test Strips
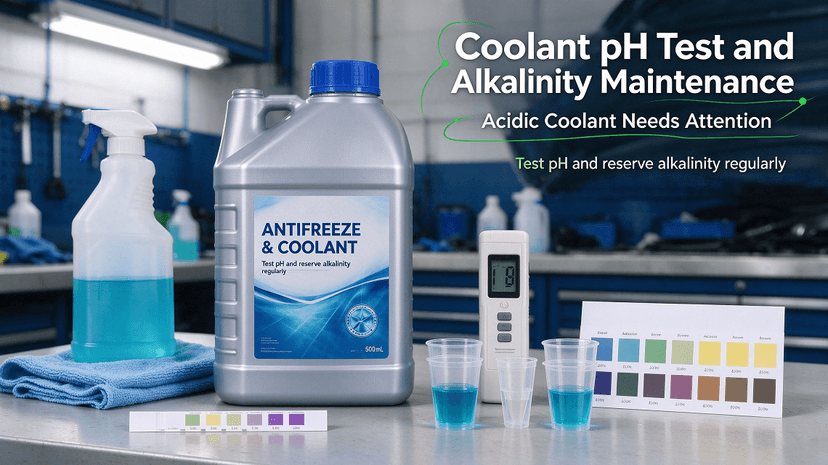
Chemical test strips are the most common route for quick bench assessments. However, standard aquarium or pool strips often fail here because high concentrations of ethylene or propylene glycol interfere with standard dye indicators. Look specifically for automotive or heavy-duty coolant strips that measure both pH and reserve alkalinity. They are cheap, easy to store, and provide results within 15 seconds. Keep in mind: once an open bottle of strips sits on a shelf past its expiration date, exposure to humidity will skew the indicator pads.
2. Digital pH Meters
A handheld digital pen offers higher precision than color-matching strips, provided two rules are followed: the unit must feature Automatic Temperature Compensation (ATC), and it must be calibrated before use. Cheap digital pens drift significantly. If you opt for a meter, keep pH 4.01 and pH 7.00 calibration buffer packets on hand, and thoroughly rinse the glass electrode with distilled water before and after every reading to keep glycol film from blinding the sensor.
Step-by-Step: How to Test Coolant pH at Home
Measuring coolant chemistry accurately takes only a few minutes if basic cleanliness protocols are observed.
1. Cool Down the Engine: Never draw a sample from a pressurized, boiling cooling system. Allow the system to cool completely to ambient room temperature. Testing coolant while it is scalding hot skews digital sensor readings and poses an obvious burn risk.
2. Draw a Clean Sample: Do not just dip a strip straight into the radiator neck or overflow bottle; road grit and neck deposits can contaminate the reading. Use a clean suction bulb or clean disposable syringe to pull roughly 50 to 100 ml of fluid into a clean glass or polyethylene container.
3. Take the Reading: If using test strips, submerge the pad for the duration specified by the manufacturer (typically 1 to 2 seconds). Shake off excess fluid with a quick flick of the wrist. Wait the exact specified development window—usually 15 to 45 seconds—before comparing the strip to the color chart under natural, balanced lighting. If using a digital probe, submerge the tip, swirl gently for five seconds to release air bubbles, and let the reading settle on screen.
4. Document and Flush Tools: Note the value, vehicle mileage, and fluid type in your service log. Immediately rinse your sampling tools with distilled water.
Understanding the Readings: The Ideal Coolant pH Range
Different coolant chemistries rely on different base inhibitor systems, meaning baseline targets vary. What looks like a normal reading for one formulation may signal immediate failure in another.
Generally, the ideal coolant pH range falls between 8.5 and 10.5 for conventional Inorganic Acid Technology (IAT) green fluids. These systems depend on silicates and high alkalinity to create a protective barrier on internal metal surfaces.
Organic Acid Technology (OAT) and Hybrid OAT (HOAT) coolants, typically tinted orange, yellow, or red, operate on a different chemical mechanism. Their typical target ranges run slightly lower, often between 7.5 and 8.5. Any reading approaching 7.0 (neutral) means the protective chemistry is exhausted. If an antifreeze pH level drops below 7.0, the mixture is actively acidic and must be drained immediately.
What Happens When Coolant Alkalinity Drops
Fluid pH measures the current acidity, but coolant alkalinity—specifically "reserve alkalinity"—is the buffer capacity that resists acidic shift. So, what happens when coolant alkalinity drops below safe operational thresholds?
First, sacrificial passivation layers on aluminum heads and radiator tubes break down. Acidic coolant strips these protective coatings faster than the remaining inhibitors can rebuild them. Second, solder joints begin to experience "solder bloom," an expansive corrosion product that can clog narrow radiator passages.
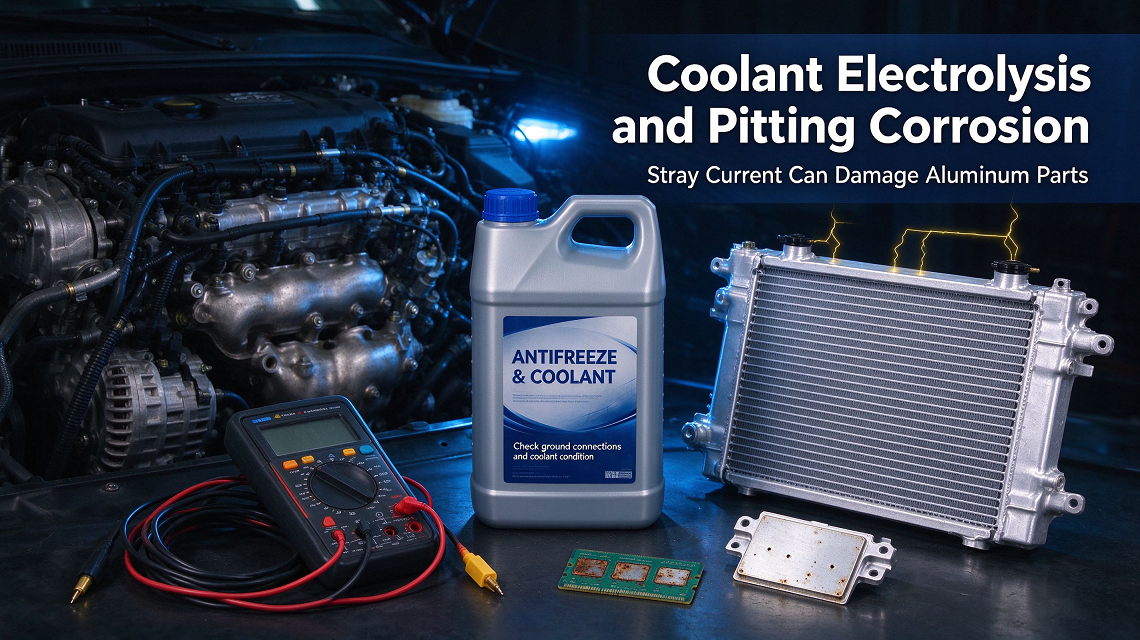
Perhaps worse, declining alkalinity accelerates galvanic corrosion. When different metals—such as an aluminum cylinder head bolted to a cast iron block with a copper-core heater core nearby—are immersed in an electrically conductive, acidic fluid, current flows between them. The weaker metal sacrifices itself, leading to pitted cylinder liners, weeping water pump seals, and premature gasket failures long before the fluid shows visible discoloration.
Practical Maintenance Advice and Pitfalls
Testing coolant pH is quick, but human error frequently muddies the result. Here are practical cautions based on shop experience:
- Never top off with tap water: Hard water brings calcium and magnesium into the system. These minerals bind with inhibitors, dropping reserve alkalinity prematurely and forming scale on heat-exchanger surfaces. Always use deionized or distilled water.
- Do not trust color alone: A fluid can remain bright green or translucent orange even while its buffering capacity has plummeted. Color indicates dye, not inhibitor viability.
- Watch out for exhaust gas leaks: If your pH drops suddenly within a few thousand miles of a fresh fill, check for a breached head gasket. Combustion gases contain sulfur and nitrogen oxides that dissolve into the coolant, turning it acidic rapidly regardless of additive age.
Frequently Asked Questions
Can I add chemical boosters to raise coolant pH?
While supplemental coolant additives (SCAs) exist for heavy-duty commercial diesels, they are formulated for specific engine blocks and wet-sleeve liners. Pouring random alkaline additives into automotive light-duty OAT or HOAT systems can destabilize the inhibitor package, causing silicates or organic salts to drop out of suspension as abrasive sludge. If pH has crashed, a complete drain, flush, and refill is the reliable cure.
How often should coolant pH be tested?
For consumer vehicles, testing once a year—ideally before winter or high-load summer hauling—is sufficient. For commercial fleets, stationary generators, or plant equipment, log readings every 250 to 500 operating hours alongside scheduled oil inspections.
Does low pH always mean the freeze protection is gone?
No. Ethylene glycol retains its freeze point depression characteristics even after the corrosion inhibitors have completely degraded. Your hydrometer may read protection down to -34°F while your coolant is actively eating away radiator solder and aluminum passages.
Welcome to contact GAFLE for more information & cooperation!
peter
ZHEJIANG GAFLE AUTO CHEMICL CO.,LTD
Tel:86-579-8222 1665
Fax:86-579-8246 4690
Cel/Wechart:86-13335993986
E-mail:peter@gafle.net
Web:www.gafle.net